The old Sub-Zero 400 series wine coolers were and still are awesome units. While they are definitely approaching the end of their life cycle, the repairability of them is unmatched by any competitor in the residential wine cooler market.
Two models in-particular that we see the most often are the 424 under the counter and the 427 series. These wine coolers were really great and for the most part, and can always be fixed. A wine cooler is definitely a “wetter” system, so
the parts inside the compartment wear down a little faster. These units can still be rebuilt cleanly to serve for another life cycle. Whats better than keeping fridges out of the landfill?
Why get into servicing the the old sub zero wine coolers? The problem was how easily they overheated without good maintenance. The heat exchangers would get so brittle they would crack and all you can do is rebuild the whole sealed sealed system. The old ones had copper evaporators with no room to solder replacements in. These machines were kind of a nightmare, especially the under the counter units that constantly failed. The best way to go about repairing these units was to just give them a gas charge and run away hoping it wouldn’t leak out all of the gas fast. Fast forward fifteen years and the old wine coolers from the early 2000s are still here, often built into a bar or kitchen, with no feasible replacement model available to fit the wood panels that were retrofitted to their fronts some 20 years ago.
The Problem:A 427R Wine Cooler top section fails and “Service” light is Flashing.
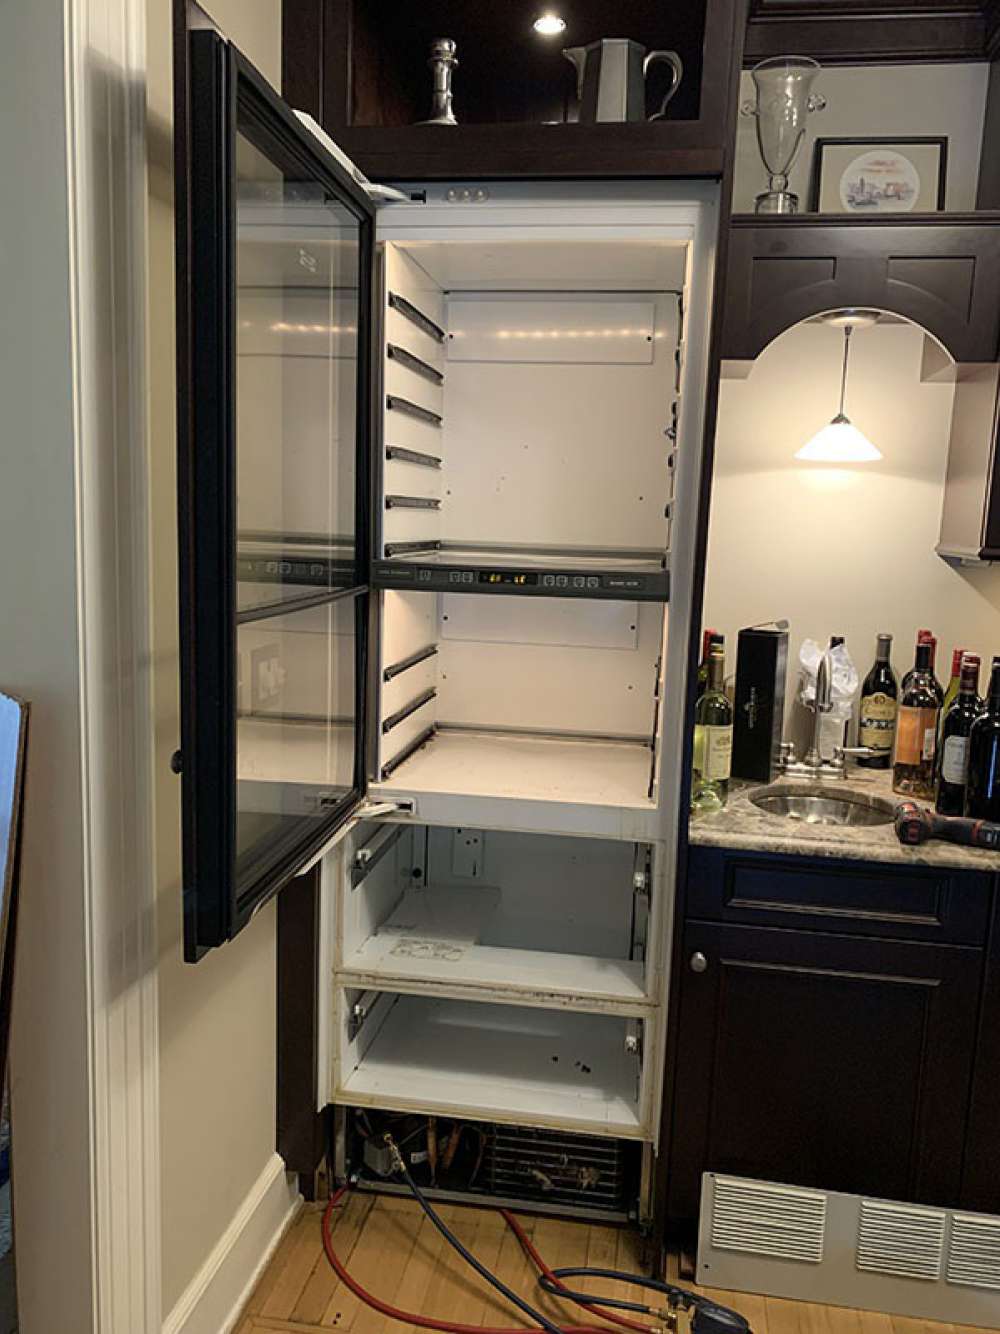
We arrive to diagnose the unit, it is 70 degrees and full of wine. We have our refrigeration gauges, so we take pressures on the low side of the top section of the wine cooler (These units use a single compressor fitted with two solenoids to allow gas into one section at a time). Low side pressure is OKAY, no major leak, no blockage, a visual of the evaporator indicates gas is making it into the evaporator. We switch over to the lower section by holding colder and power for ten seconds on the touch panel.The pressure indicates there is a blockage, or a refrigerant leak. We call customer service to get the history of the unit, it has been extensively serviced. Many new parts attached to old parts, this things insulation is brittle, we don’t really want to get involved. We offer a recharge of the unit. We fill it up with its 4.5 ounces of 134a and move on, hoping the leak is slow, or maybe it came out of a schrader valve that was overworked. It is not, we get a call back the next day, the unit has failed and the customer is on board with rebuilding it.
Lets Order PARTS
We give our local sub zero distributor a call, www.NECPD.com for all of you on the east coast. We need the entirety of the sealed system (except the condenser) the Evaporators, the Heat Exchangers ( both different sizes), Gas Solenoids (upper and Lower), the inline filter (you’ll see) and lastly, the Compressor.
Workflow – This is an advanced job, it is not for someone unfamiliar with Sub-Zero refrigeration systems. Many “Sub-Zero Specialists” wouldn’t touch this job, it is just too tight of a space to work with and you have to pull the unit out.
- Cut Power to unit, unplug and remove lower drawers (we will not be working in the lower compartment, but we need to move the unit and these are heavy), empty wine racks, remove grill cover, remove screws from side of unit and prepare to pull this machine away from the wall by placing masonite on the floor where we will be moving the unit. Wine coolers do not have wheels, they are 700 series units and must be dragged, use masonite or ruin your floor.
- Remove unit, tilt 90 degrees, gain access to heat exchangers and wiring runs on the back of the unit. Inside the upper two compartments, strip the left side of all tracks, put them aside with their screws. Remove Rear walls in both upper compartments, expose evaporators.
- Reclaim gases from compressor, do a standard pump down refrigerant removal using a refrigeration pump and a reclaim tank.
- Once we have the unit pumped down with no gas left in it, we must begin stripping the machine down of its sealed system parts. We are going to divide this big ass job into three sections. 1) Heatexchanger and Evaporators 2)Valves and Filter 3) Compressor
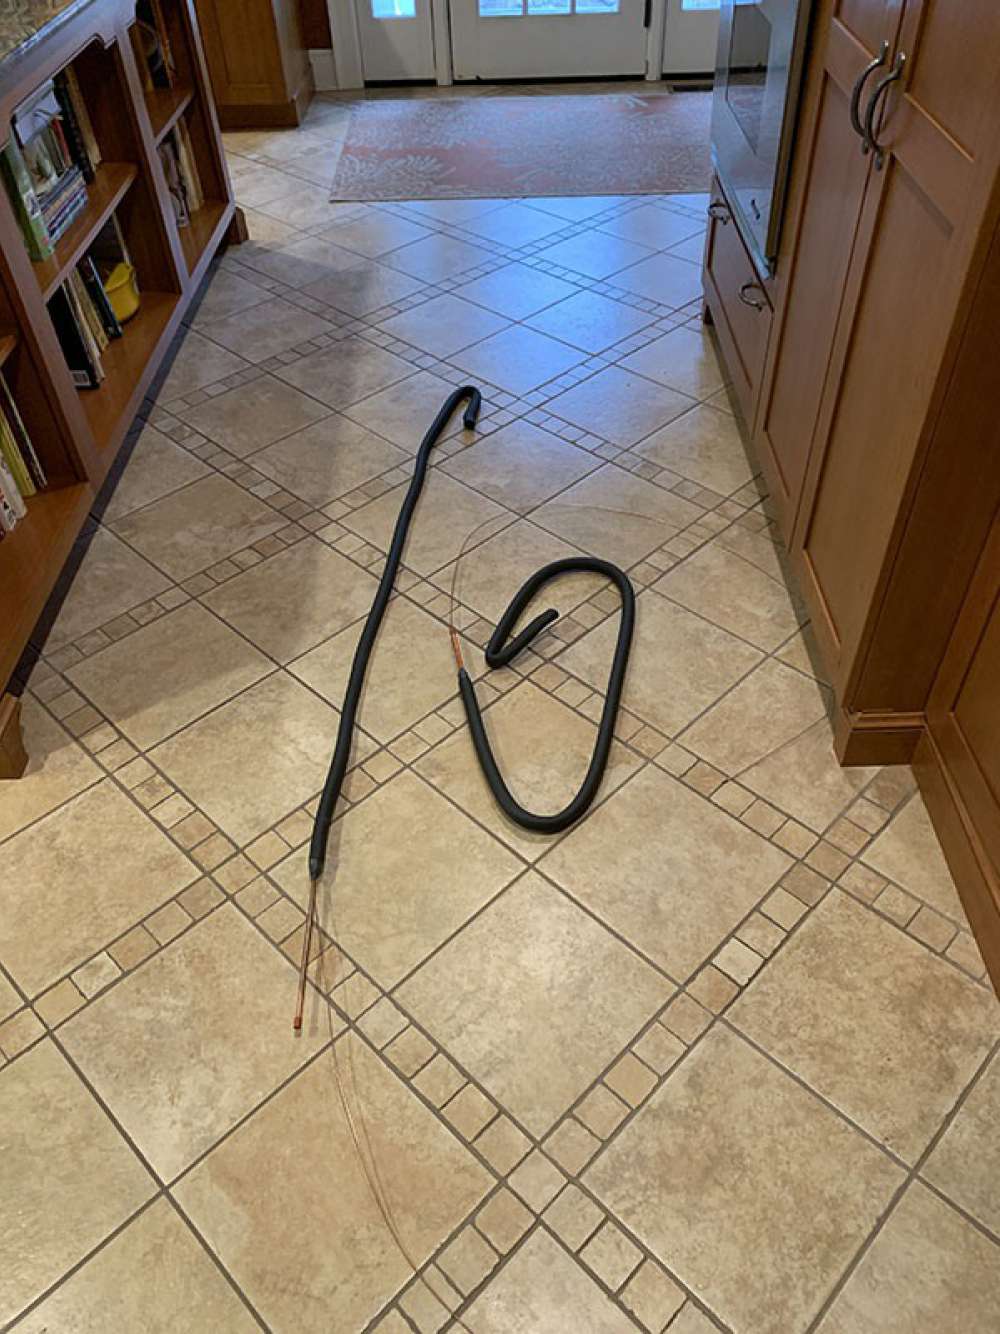
- Disconnect thermistors and Cut out both evaporators using cutters. Remove Heat exchange from back of unit, it will have plastic holders screwed into the back.
- Remove mechanical shelf onto floor. You can pull it out about a foot and a half. On the right side you will see the Heat Exchanger Screwed into the ceiling of the mechanical shelf. Unscrew it. You Will notice it is a T fitting configuration. This is because it uses ONE compressor for both sections, on each side of the T fitting is the heat exchangers, the right side of the T is for the lower wine compartment, the left side for the upper. The Third side goes right into the low side of the compressor. We are reusing this T fitting, make clean cuts a few inches off each solder joint and we will solder in our new heat exchangers right into it. The MOST important thing to remember here is that we will need to fit this mechanical shelf back into its tracks, excess copper will not be tolerated, so trim your heat exchanger, always think about putting this thing back together. The configuration of copper runs from the factory is what we want to mimic, if we can reuse the T fitting and we know it isn’t leaking (you would see oil) then do it.
-
Step outside. Its time to solder your evaporator to your heat exchange outside the unit. We do this outside because doing it inside the box is silly when we can simply fish the heat exchange right through the box and seat our
evaporator. Less bends, less weird angles. Straighten out your heat exchangers before attaching to EVAP.
straighten out your heat exchangers - Once evaporator is soldered to the heat exchange you must fish each heat exchange through the hole in each compartment, make sure you run them down the back wall in the same order as the factory. Mount your evaporators, screw in your thermistors to their proper location, reuse the screw holes that exist to get it right back in the correct spot. Sometimes this can be very frustrating and you can even bend the evaps pretty good. Do your best, we will putty up the holes really good so that there are no air leaks later.
- One at a time put your heat exchangers through the hole into the mechanical shelf, make sure to connect them to each T fitting properly, keep the heat exchangers out of the way of the other copper tubes down there, dont tangle them up, make good bends, keep in mind we will have to slide this thing back together and dont want a mess. Solder your Heat Exchangers into the T fitting using 5/16 fittings. Manage your capillary tubes by rolling them with either a can or bottle and zip tie them to your heat exchanger. Once your Heat exchangers are soldered in, you are ready to move onto the valves and filters. Keep the shelf in its current location so if we need to access the joints later on we can during a nitrogen test.
-
It is time to work on your Valves and Filter. Start by unscrewing your old valves. We will remove this entire section on its own and work on it outside the unit so that we are not cramped inside the unit. View this photograph to see the
finished product, ready to go right back in and be soldered to the condenser and have the capillaries soldered into it. Use 3/16 copper to mimic what came out of the unit and attach the filter to the back sides of the valves.
Keep in mind there is an Upper Valve and a Lower Valve, They are Labeled on the box they come out of.
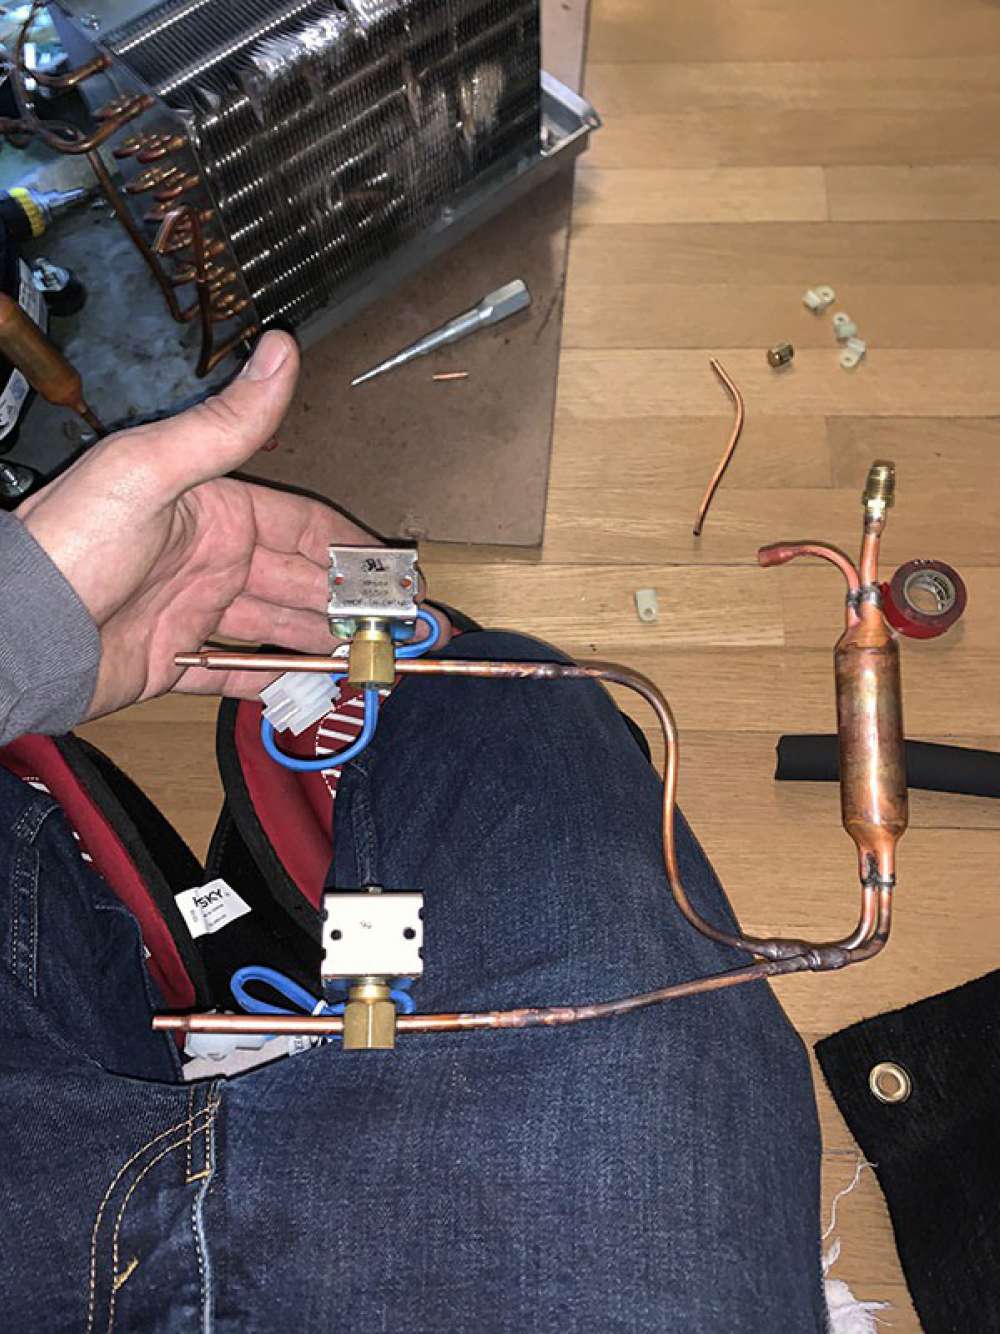
The Valve and Filter assembly that gets soldered outside the unit. then placed back into the unit and soldered into place. - Do that, put your filter and valves back into place, solder your capillaries into the the valves. Connect your filter to your condenser.
- Change Compressor, The old one will probably work, but really, you are going to cheap out now? You didn’t go cheap on this repair.
- NITROGEN TEST- Test that baby with nitrogen, correct and re solder any leaks.
- Recharge 134A 4.5 oz, It should charge up to around 12 lbs with no fan – I know mine did.
- Slide mechanical shelf back into place, Probably easier said than done. Place heat exchange covers back on behind the unit. Put tracks back in wine cooler sections, re putty any open holes when heat exchanges came through.
- Push unit back into wall and put your drawers back in. You did it. You should now have a functioning sub zero wine cooler.
We also do this with small under the counter wine coolers, however we pick them up and bring them to our shop where our elves can take their time rebuilding them. For Service on a wine cooler in the New York or New Jersey area, give us a
call and discuss your options.